檢視原始檔 安裝
讓我們盡快運作 Phoenix 應用程式。
在開始之前,請花點時間閱讀 安裝指南。事先安裝必要的相依元件,將能順利啟動我們的應用程式。
我們可以從任何目錄執行 mix phx.new 以啟動我們的 Phoenix 應用程式。Phoenix 會接受我們新專案目錄的絕對或相對路徑。假設我們應用程式的名稱為 hello,讓我們執行以下指令
$ mix phx.new hello
預設情況下,
mix phx.new會包含許多可選的相依元件,例如
Ecto,用於與資料儲存(例如 PostgreSQL、MySQL 及其他)溝通。你可以透過
--no-ecto來略過。Phoenix.HTML、TailwindCSS,以及 Esbuild,用於 HTML 應用程式。你可以透過
--no-html及--no-assets標記來略過它們。Phoenix.LiveView,用於建立即時互動式網路應用程式。你可以透過
--no-live來略過。閱讀 Mix 任務指南,以取得其他選項和可排除事項的完整清單。
mix phx.new hello
* creating hello/config/config.exs
* creating hello/config/dev.exs
* creating hello/config/prod.exs
...

Fetch and install dependencies? [Yn]
Phoenix 會產生目錄結構和我們將需要的應用程式的所有檔案。
Phoenix 推廣使用 git 作為版本控制軟體:在產生的檔案中,我們會找到一個
.gitignore。我們可以對我們的儲存庫執行git init,然後立即新增並提交所有尚未標示為忽略的內容。
完成時,它會詢問我們是否要為我們安裝相依元件。讓我們回答 yes。
Fetch and install dependencies? [Yn] Y
* running mix deps.get
* running mix assets.setup
* running mix deps.compile

We are almost there! The following steps are missing:

    $ cd hello

Then configure your database in config/dev.exs and run:

    $ mix ecto.create

Start your Phoenix app with:

    $ mix phx.server

You can also run your app inside IEx (Interactive Elixir) as:

    $ iex -S mix phx.server
安裝好我們的相依元件後,此任務會提示我們變更至專案目錄並啟動應用程式。
Phoenix 會假設我們的 PostgreSQL 資料庫有一個具有正確權限的 postgres 使用者帳戶,其密碼為「postgres」。如果不是這樣,請參閱 Mix 任務指南,以進一步了解 mix ecto.create 任務。
好,我們來試試。首先,我們會 cd 進入我們剛剛建立的 hello/ 目錄
$ cd hello
現在我們將建立我們的資料庫
$ mix ecto.create
Compiling 13 files (.ex)
Generated hello app
The database for Hello.Repo has been created
萬一無法建立資料庫,請參閱 mix ecto.create 的一般疑難排解指南。
注意:如果您是第一次執行此命令,Phoenix 可能也會要求安裝 Rebar。繼續安裝,因為 Rebar 用來建置 Erlang 套件。
最後,我們將啟動 Phoenix 伺服器
$ mix phx.server
[info] Running HelloWeb.Endpoint with cowboy 2.9.0 at 127.0.0.1:4000 (http)
[info] Access HelloWeb.Endpoint at https://127.0.0.1:4000
[watch] build finished, watching for changes...
...
如果我們選擇不在產生新應用程式時讓 Phoenix 安裝我們的相依模組,mix phx.new 工作將會在我們想安裝它們時提示我們採取必要的步驟。
Fetch and install dependencies? [Yn] n

We are almost there! The following steps are missing:

    $ cd hello
    $ mix deps.get

Then configure your database in config/dev.exs and run:

    $ mix ecto.create

Start your Phoenix app with:

    $ mix phx.server

You can also run your app inside IEx (Interactive Elixir) as:

    $ iex -S mix phx.server
預設情況下,Phoenix 會在 4000 埠接受要求。如果我們將最愛的網路瀏覽器指向 https://127.0.0.1:4000,我們應該會看到 Phoenix Framework 的歡迎頁面。
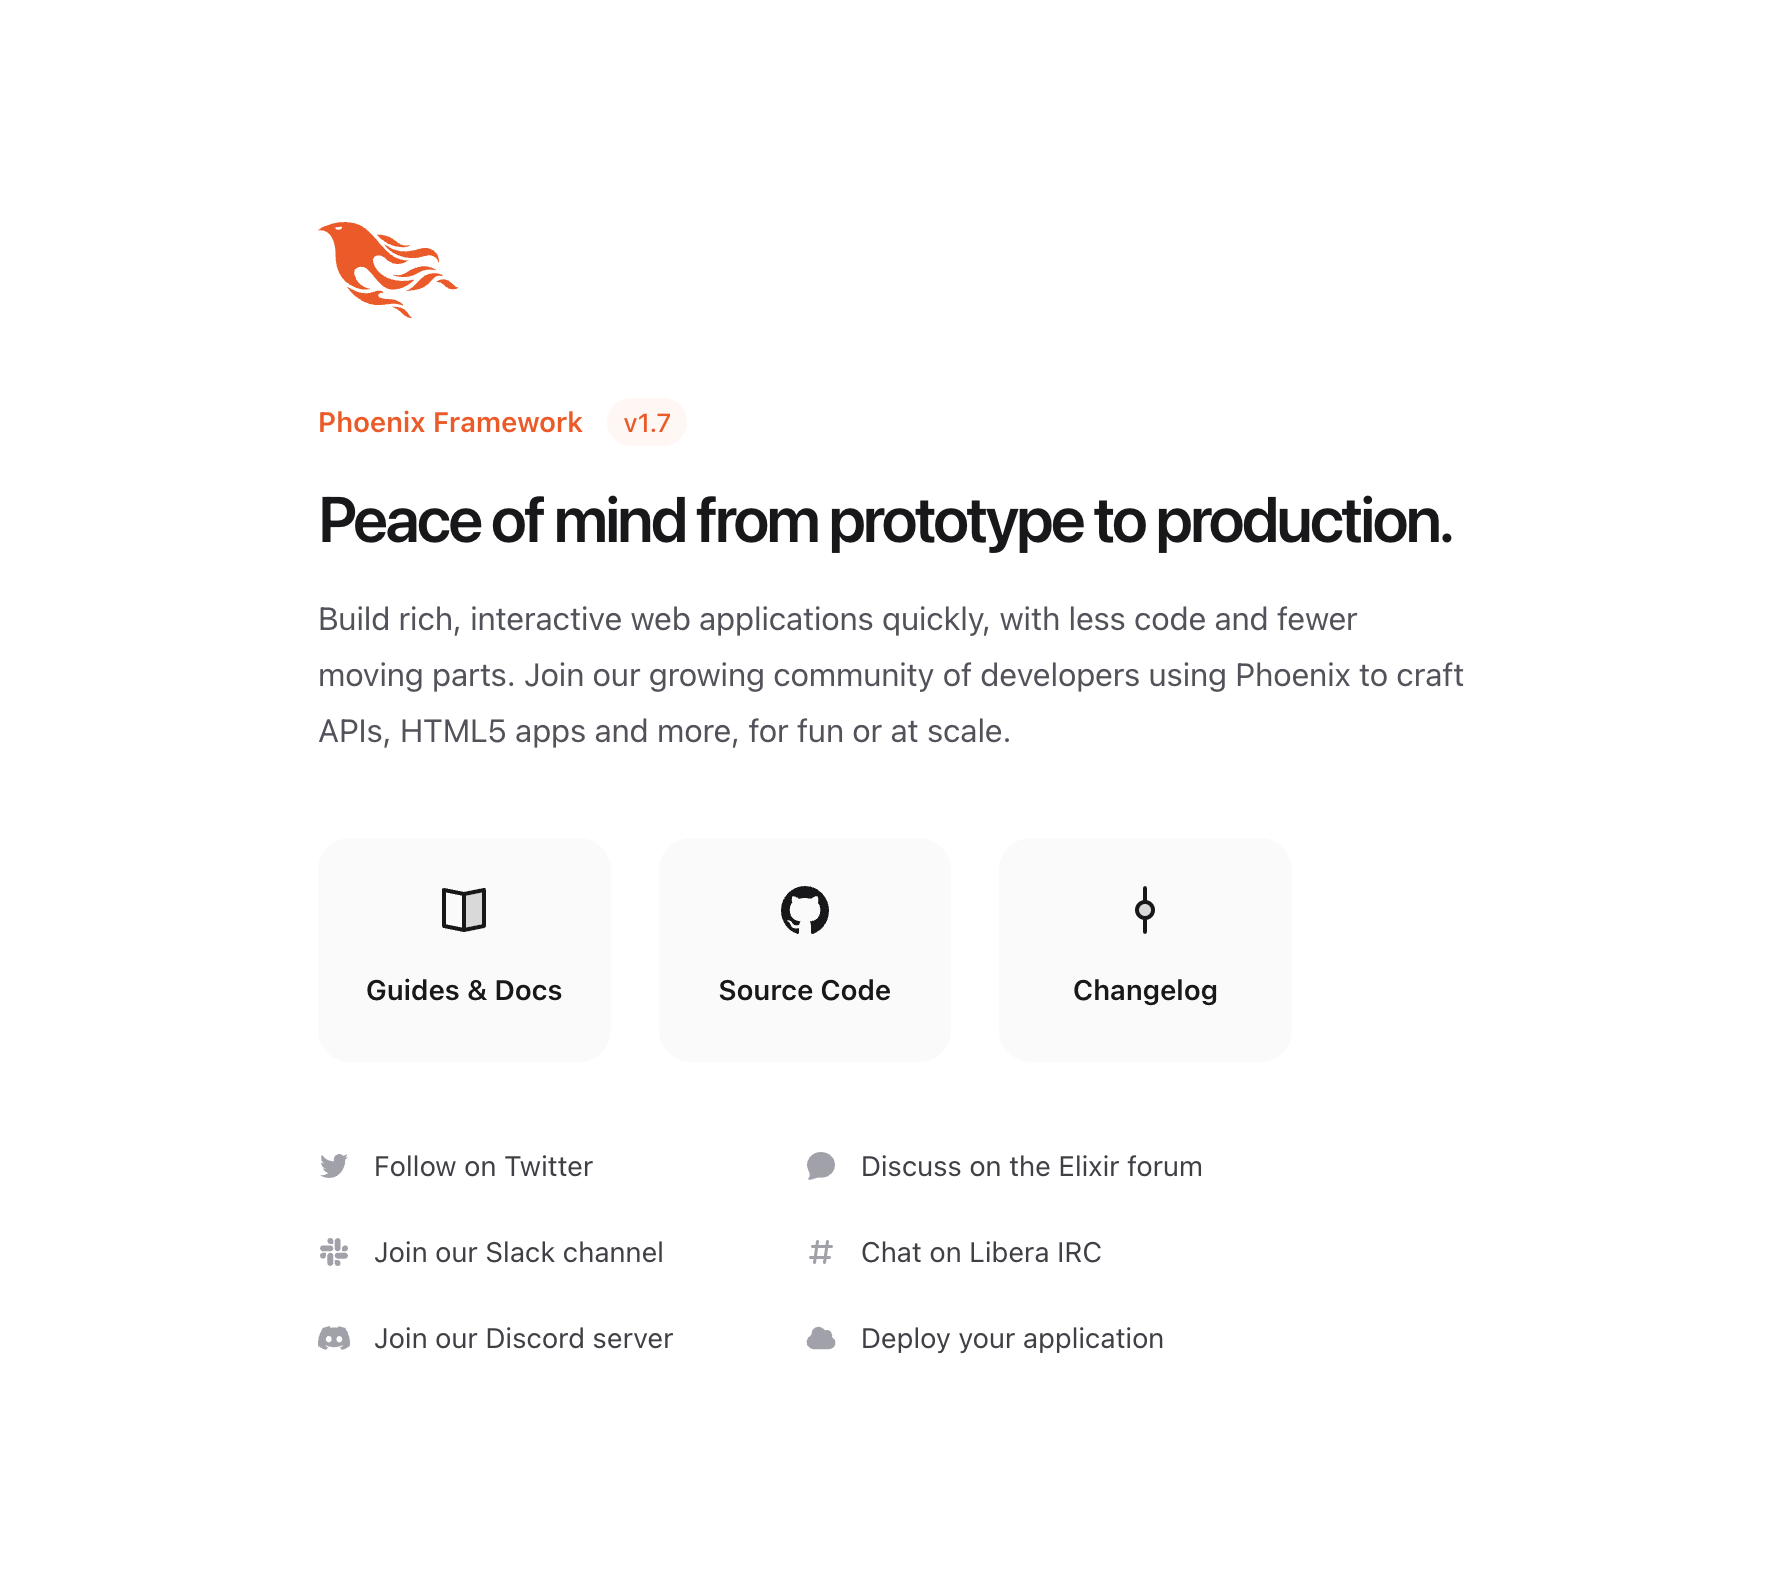
如果您的畫面看起來像上面所顯示的圖片,恭喜!您現在有了一個可用的 Phoenix 應用程式。萬一您無法看到上述的頁面,請嘗試透過 http://127.0.0.1:4000 存取它,稍後並確認您的作業系統已將「localhost」定義為「127.0.0.1」。
要停止它,我們按 ctrl-c 兩次。
現在您已準備好探索 Phoenix 所提供的世界!請瀏覽 我們的社群頁面 以取得書籍、螢幕簡報、課程等等。
或者,您可以繼續閱讀這些指南,以快速了解組成 Phoenix 應用程式的各部分。如果是這樣,您可以按任何順序閱讀這些指南,或從說明 Phoenix 目錄結構 的指南開始。